<img height="1" width="1" style="display:none" src="https://www.facebook.com/tr?id=192888919167017&amp;ev=PageView&amp;noscript=1">
Thursday,  April 18 , 2024

Linkedin Pinterest
News / Life / Food

We’re all ears for British arlettes, a treat we know as elephant ears

By Kim Ode, Star Tribune (Minneapolis)
Published: April 25, 2017, 6:00am

Avid fans of “The Great British Baking Show” may recall the episode in Season 3 when host Paul Hollywood devilishly chose as the technical challenge a pastry called an arlette.

Each face in the meadow’s white tent fell blank. Arlettes? Never heard of them. What’s an arlette? The bakers were, in a word, gutted.

Perhaps if Hollywood had called them elephant ears, everyone would have perked up.

Or maybe not.

No matter what you call these crisp and flaky wafers of sugary, cinnamony, buttery pastry, they are both a bit technical and a little challenging. But they’re entirely achievable, of course, for we provide you with far more detailed directions than Mr. Hollywood. “Make dough,” indeed!

In other words, our recipe may not make great television, but it’s the path to a delicious pastry.

One other wrinkle: The term “elephant ears” describes two slightly different pastries. One is more often called a palmier, where a sugar-layered sheet of dough is rolled in from either side to meet in the middle, then sliced and baked.

The other elephant ear — and what we’re making here — is a rolled-up cylinder of dough, cinnamon and sugar, sliced, rolled wafer-thin, then baked. For our money, it looks more like an elephant ear than the curlicued palmiers.

That fact that these pastries also may be known as beavertails, shoesoles or flying saucers is what makes this crazy world of baking such fun.

Two things to know: Arlettes are essentially made with a puff pastry, which requires a short period of chilling between each bout of rolling and folding to create the flaky layers. While no single step is difficult, the process does keep you at home for several hours. Plan accordingly.

Morning Briefing Newsletter envelope icon
Get a rundown of the latest local and regional news every Mon-Fri morning.

Those familiar with making puff pastry may be confounded by this particular recipe’s technique of wrapping the dough within butter, instead of butter within dough. This actually was not Paul Hollywood being devilish, but a proper technique called feuilletage inverse, or “inverse puff pastry,” which yields especially light and airy results.

Watch Hollywood explaining the rationale behind this practice.

And now, there’s little more to say than, “Ready. Set. Bake!”
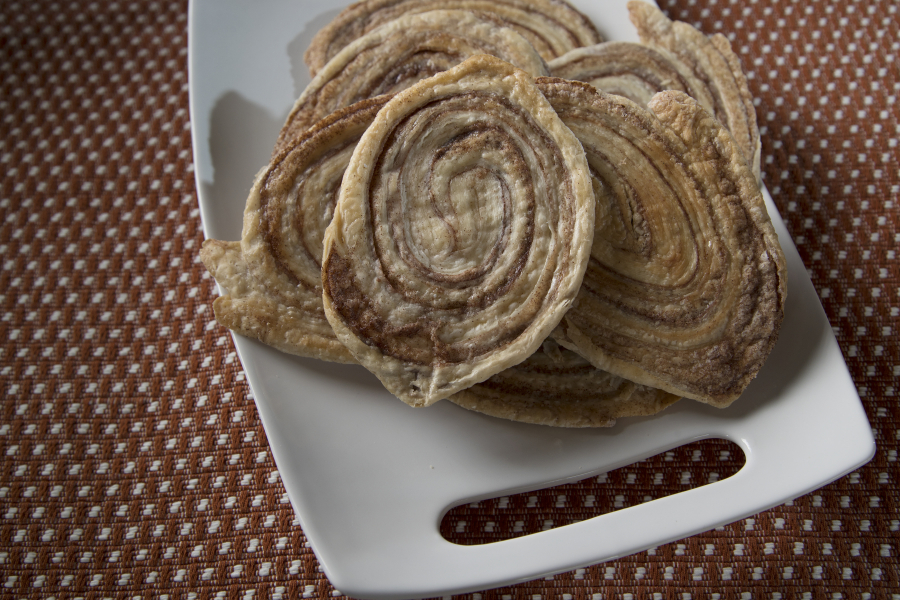
Arlettes

Makes 8.

Note: Adapted from “The Great British Baking Show.”

o For the dough

1/2 cup all-purpose flour, plus extra for dusting

1/2 cup bread flour

1 teaspoon salt

3 tablespoons unsalted butter, melted

1/4 cup cold water

For the butter layer

8 tablespoons (1 stick) unsalted butter, room temperature

1/4 cup all-purpose flour

1/4 cup bread flour

o For the filling

3 tablespoons sugar

2 teaspoons cinnamon

Powdered sugar for dusting, about 1/2 cup

In a small bowl, whisk 1/2 cup all-purpose flour, 1/2 cup bread flour and salt. Then add melted butter and 1/4 cup cold water. Form a dough, then use your hand to compress the mixture into a ball. Knead on a lightly floured surface until smooth, then pat into a 4-inch square. Wrap in plastic wrap and chill for an hour.

In the meantime, cut 1 stick butter into 8 pieces. Then with an electric mixer or pastry blender, combine with 1/4 cup all-purpose flour and 1/4 cup bread flour until the mixture resembles large crumbs. Use your hand to press the mixture together, then lay it on a 10-inch long piece of plastic wrap. Top with another piece of plastic wrap and, with a rolling pin and your hands, flatten the butter into a rectangle 4 inches wide and 8 inches long, keeping the edges straight and square. Chill for 25 minutes.

Unwrap the chilled butter layer (save the wrap) and place on a lightly floured surface. Run the rolling pin over it a few times to make it more pliable. Unwrap the chilled dough and place it in center of the butter. Gently fold the upper and lower flaps up over the dough so the edges meet in the middle. If the butter breaks a bit, just pinch it together.

Reflour the surface and roll the dough into an 8-inch by 12-inch rectangle, taking care to keep the edges even. With a short end facing you, fold the top quarter down and the bottom quarter up so they meet in the middle. Then fold the dough in half along this centerline. This is called a book turn. Wrap in the saved plastic wrap and chill for 25 minutes.

Make another book turn in the chilled dough, as above. Re-wrap and chill for 25 minutes.

In the meantime, mix together the sugar and cinnamon.

On a lightly floured surface, roll out the chilled pastry to a rectangle as before. Here’s where we’ve adapted the recipe to help combat the irksome sugar slippage (as Mary Berry might say.) Sprinkle half of the sugar mixture (about 2 tablespoons) over the center third of the dough, spreading evenly edge to edge. Fold down the top third of dough, enclosing the sugar.

Spread the rest of the sugar over that surface, spreading evenly. Fold up the bottom third of dough to enclose.

Press firmly to meld the sugar with the dough, then use the rolling pin to make a rectangle 4 1/2 inches wide and 10 inches long. Take your time. You’re not rolling so much as pressing the dough, since you’re already close to those proportions.

Now roll up the dough from the short end to make a fat cylinder. Wrap tightly in plastic wrap and chill for 25 minutes.

Preheat the oven to 400 degrees and place racks at bottom and middle positions. Line 2 baking sheets with parchment paper.

Slice a thin sliver from each end of the chilled cylinder for a clean edge, then cut into 8 (1/2-inch) disks.

Dust a work surface with powdered sugar. Place a disk on the sugar, then press with your open palm to flatten slightly and warm the dough. Dust disk with powdered sugar and roll into an oval shape, turning often to keep it from sticking.

If the outer “tail” starts to peel away, just press it back onto the disk. Each disk should be about 6 inches by 8 inches. They will be very thin. Place 4 on each baking sheet.

Bake for 7 minutes, then carefully turn over the arlettes. Return each sheet to the opposite rack and bake for 5 to 7 minutes, or until golden brown. Transfer to a wire rack to cool. Arlettes will keep for 24 hours stored an airtight container.

Loading...