<img height="1" width="1" style="display:none" src="https://www.facebook.com/tr?id=192888919167017&amp;ev=PageView&amp;noscript=1">
Tuesday,  April 23 , 2024

Linkedin Pinterest
News / Life / Lifestyles

Turn kitchen scraps, yard waste into garden gold

Starting compost pile in the fall will result in fruitful harvest for next spring’s gardening

By Jeanette Marantos, Los Angeles Times
Published: October 22, 2022, 6:04am

LOS ANGELES — Fall is a great time to establish a compost pile, and it’s not hard to get off to a good start. And here’s a confession from a longtime composter: Putting food waste in a separate kitchen receptacle is a no-brainer that actually feels good because it’s such an easy way to improve the world.

See, our landfills are getting full, and organic materials such as kitchen scraps and yard trimmings make up about 50 percent of the state’s landfill “trash,” according to CalRecycle, creating enough global-warming methane gas to make landfills California’s third largest methane source.

All those organic materials creating problems in our landfills are actually a misunderstood asset that can easily be converted to compost — the miracle soil amendment that rebuilds our depleted soils while nourishing our plants. All we have to do is scrape our plates and toss a large proportion of yard waste into a compost bin instead of the curbside bin.

“Nearly 40 percent to 50 percent of the trash we collect curbside is compostable,” said Michael Martinez, founder of L.A. Compost. “We need to stop seeing food ‘waste’ as trash and redefine our vocabulary to see it as a resource, something that needs to be transformed and reinvested back into the soil.”

What to add

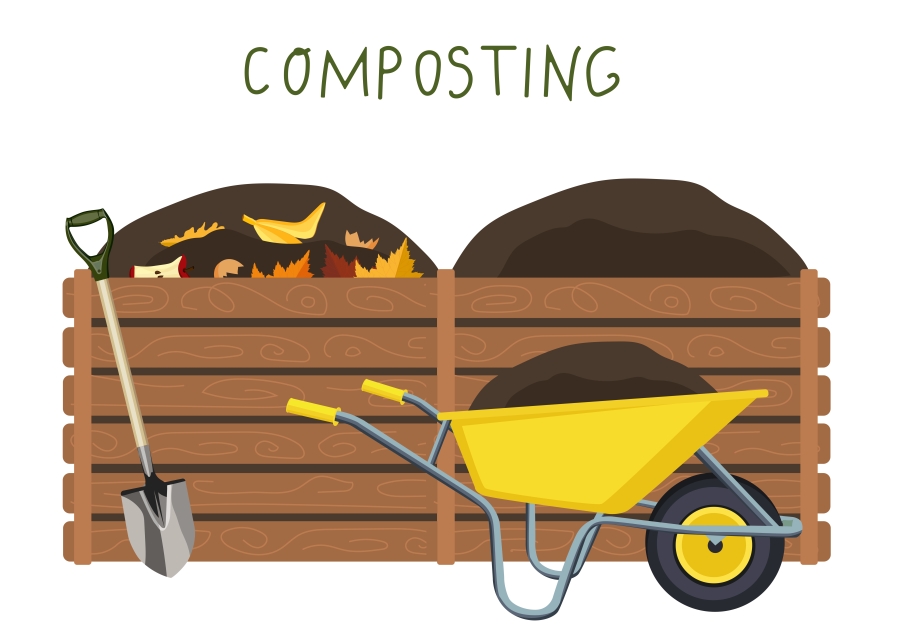
What kinds of things can be sent to that compost pile you’re excited to start?

To get the ball rolling, here are a dozen things that you can either safely divert from the landfill into your backyard composting efforts or send off to a communal pile elsewhere.

From the kitchen

• Fruit scraps (think apple cores, orange and banana peels, melon rinds and strawberry tops)

• Vegetable trimmings (such as avocado skins, pepper cores and stems, Brussels sprouts trimmings and eggplant peels)

• Tea bags (no nylon bags)

• Coffee grounds and filters

• Eggshells (but just the shells)

From the yard and garden

• Leaves and pine needles (but mixed with other ingredients to avoid matting)

• Old potting soil

• Grass clippings (mixed with other ingredients so they don’t turn into a compacted mat. Also note that grass clippings are a great natural fertilizer if left on the lawn.)

• Shredded newspaper, paper and cardboard (except for slick or glossy papers)

• Wood chips, sawdust and ash (from untreated wood only, such as cut trees)

• Houseplants, flowers and outside plant trimmings chipped or cut into 2- to 3-inch pieces

• Aged (left in the sun for about three weeks) manure and bedding from cows, horses, goats and chickens. Always inquire about the food and medication the animals receive before you use their manure, to keep things like steroids and antibiotics out of your compost. Rabbit manure has lower nitrogen but can also be used.

What to avoid

If you’re baby-stepping into composting for the first time, the do’s and don’ts of what goes into the bin might seem daunting.

To flatten the learning curve, we’ve compiled two reference lists — one of things that should never go in the compost pile and another of items that should only go in “hot” compost piles (more about that below) — to help guide you.

Compost no-nos

The following items should never be placed in any compost pile (or organic waste bin, for that matter):

• Plastic anything — including “compostable” plastics

• Poop from meat-eating animals like dogs and cats (this includes kitty litter)

• Fresh manure from animals such as racehorses treated with steroids, antibiotics or other medications

• Magazines or other glossy paper products

• Hygiene products (think soiled diapers and wipes)

• Charcoal barbecue ashes

For ‘hot’ compost only

Hot composting needs the compost pile to reach an internal temperature of 130 to 150 degrees (to kill the pathogens that meat, dairy and diseased plants produce), so if you’re trying this at home you’ll need to invest in a compost thermometer and more time than you’d need with casual composting.

The items below can go into a hot compost pile at home or most municipal food waste/organic waste bins, where they will be sent to facilities that use hot composting techniques. (Note that rules vary by city or town, so check with your jurisdiction to make sure these are items they will accept.)

• Diseased or moldy plant trimmings and weeds with seeds

• Food-soiled paper (including broken-up pizza boxes)

• Cheese and other dairy products

• Meat (including fish) and bones

• Cooked foods like grains or pastas

• Cooking oils/grease

— Jeanette Marantos

So here’s a proposal: Separating our food waste is a win-win for anyone who likes to breathe and eat food, so why not start practicing now by becoming a composter?

If you have a yard, you can easily start a compost pile. Send items you don’t want to include, like bones or moldy cheese, to professional waste treaters and use the rest of your household food waste to create excellent and free soil amendments for your garden.

No yard? No problem! Consider a small-space option such as bokashi or worm composting.

What you need

1. Closable containers are critical for separating your food waste. There are myriad compost pails available for $25 to $50 — many handsome enough to sit on your kitchen counter. It should have a tight-fitting lid to stop odors and deter pests and be big enough to hold a few days’ worth of scraps.

2. Garden forks are a must for turning compost piles, a vital step to keeping the ingredients aerated and pests at bay. (A shovel will work in a pinch.)

3. High-nitrogen “green” materials help kick-start a compost pile’s decomposition. Soil scientist and L.A. Compost adviser Lynn Fang recommends having a good supply of these materials on hand to help the microbes do their work in breaking down the materials. These include grass clippings (well mixed with other materials so they don’t compact), coffee grounds, brewery waste (the leftover grains from making beer) and aged manure (left out in the sun at least three weeks) from cows, horses and chickens not treated with steroids, antibiotics or other chemicals.

4. Wood chips from untreated wood are useful carbon or “brown” ingredients, good for absorbing odors, keeping the pile aerated and covering newly added food waste, said Fang.

5. Space —preferably in a shady area — to set up a compost bin, tumbler or pile.

In the helpful-but-not-absolutely-necessary category are compost thermometer to keep track of your compost’s internal temperature (which is a must if you’re trying your hand at hot composting).

Creating a compost pile

Compost requires four main ingredients: water, oxygen, nitrogen — from “green” items such as fruit and vegetable trimmings, grass clippings, tea leaves and egg shells — and carbon — from “brown” items such as dead leaves, shredded newspaper and sawdust (from untreated wood). A compost pile should be damp, like a squeezed-out sponge, but not dripping, and the more often you turn it and give it oxygen, the faster the microbes can break the materials down to an earthy-smelling, chocolate-brown amendment for your soil. You don’t have to turn it at all, but it will take much longer for all the materials to break down.

Guides abound online, such as those from L.A. Compost or master gardener Yvonne Savio’s website, GardeninginLA. Here are Fang’s recommendations for starting a basic compost pile by layering in multiple ingredients:

1. Start with a 3- to 6-inch layer of untreated wood chips or small broken branches at the bottom of a bin or just on the ground. This will help absorb odors and provide air circulation.

2. Add a 3-inch layer of green or nitrogen items, such as vegetable trimmings and eggshells.

3. Add a 1-inch layer of a high-nitrogen activator such as manure, brew waste or coffee grounds. If you use grass clippings, make sure to mix them in with other items so they don’t compact.

4. Add a 3-inch layer of brown or carbon ingredients, such as wood chips, shredded newspaper or cardboard, straw or hay, pine needles or dry leaves (well mixed with other ingredients so they don’t mat).

5. Water those layers well so the pile is thoroughly wet, and if you have enough ingredients, repeat the same layering process, watering again to ensure all the ingredients get wet.

6. Turn the pile monthly by forking ingredients from the bottom of the pile to the top. When you add food scraps, cover them with wood chips or some other brown material to absorb odors and deter pests, but try to keep an even balance of greens and browns and make sure the pile stays moist. If the pile gets too dry, decomposition slows and it’s more likely to attract ants and other pests. Add more greens and water, and turn. If the pile starts smelling or gets too wet, add more brown carbon material and mix it well.

Stay informed on what is happening in Clark County, WA and beyond for only
$9.99/mo

7. Once you fill a bin, let it “cook” for a few months (turning it monthly will speed the process) and start a second bin or pile nearby so you always have a place to add your food waste. So if you start now, by spring, your compost pile will have developed a dark brown, crumbly compost perfect for fertilizing.

Using compost

If you turn it monthly, compost can be ready in three to six months. Finished compost has a pleasant earthy smell and a dark brown color like coffee grounds. You shouldn’t be able to recognize the ingredients, but if you find big chunks, just put them in the new pile to further break down.

Use your compost as a soil amendment, mixing it into your garden beds or containers. Or spread it a few inches thick under plants as a kind of fertilizing mulch that will feed their roots as it breaks down while cooling and enriching the soil. L.A. Compost suggests a ½-inch side dressing of compost for heavy-feeding vegetables like tomatoes. Even lawns can benefit from a thin (½ inch) layer of compost raked over the top.

Compost also can be added to water ( L.A. Compost recommends about 2 to 4 cups of loose compost to 5 gallons of water) and left to “brew” for 24 to 48 hours. The resulting “tea” can be used to fertilize plants as they’re being watered. It also can be used a foliar spray to feed plants through their leaves.

Loading...
Tags