
Slide out
There is an inner flange that will need to be checked. They are usually just glued in, and if your RV has been set in a certain position for a long time, those seals may stick to the side wall and become damaged when you try to open or close them again. Sometimes slide outs get out of adjustment, so make sure both sides of the slider are fitting tightly. If one is looser than the other they will need to be adjusted, and almost all slide outs are adjustable. The process of adjustment is not something you can do at home though. At Vancouver RV an adjustment will run a few hundred dollars. If it isn’t properly adjusted the seals will not align, making your RV prone to leaks or causing serious damage to gears and metal parts.
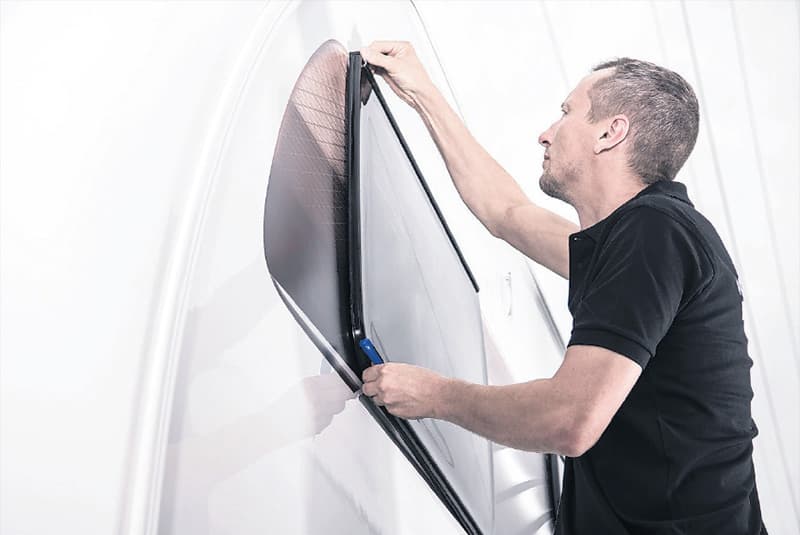
Outside surface
Examine the corners. They have metal extrusions that cap to the side connecting the side walls of the RV. Make sure the visible rubber is not damaged, and look for damage to the aluminum. If you can’t see the rubber or have a fiberglass RV, you should still see a line of silicone, which will need to be inspected. Don’t take screws out or remove anything. Just look with your eyes, because you could easily damage the existing seal. If you do notice a problem, a bead of silicone should fix the seal. As far as how long the new bead of silicone will last, it will most likely need to be redone and reinspected once a year to ensure a quality seal.
Underneath
Many RV’s come with an arctic pack, which covers the frame. If you have an exposed frame, you will see a material like a woven black garbage bag. Check for holes or tears. These materials can be damaged relatively easily from road debris or rocks. If there is damage, you can buy underbelly tape, which once applied will not need to be replaced. One fix should do the trick. Vancouver RV carries this tape, which is the same material as the existing RV underbelly. While you are underneath, inspect the wires in the backside of the wheel that attach to the brake light. These might corrode out, and while 3 brakes might be working fine, a 4th might not work at all and you won’t notice while driving. So inspect the brake wires just to be on the safe side.
If you do these things now you won’t have to do as much come spring. The best maintenance is to keep the coach covered. Vancouver RV sells breathable covers which range from $375 up to $1000. Please bring Tom your questions! Tom can be reached at:

